Artificial Star
Telescopes can be collimated by star tests, but atmospheric conditions usually cause the star to swim all over the place, making the test very difficult.
An artificial star can be used instead, and can produce good results.
To be effective, the artificial star must appear to the telescope to have a very small angular size - a small fraction of an arc second.
If this is done then it will behave like a real star.
All that is needed to create the star is a small hole and a bright light. However, if the hole is too big then the star has to be placed a very long way away from the telescope, with attendant problems.
I had a 10micron pinhole from the days when I made a Dall Null Tester for my mirrors.
An inexpensive green laser pointer provides the light.
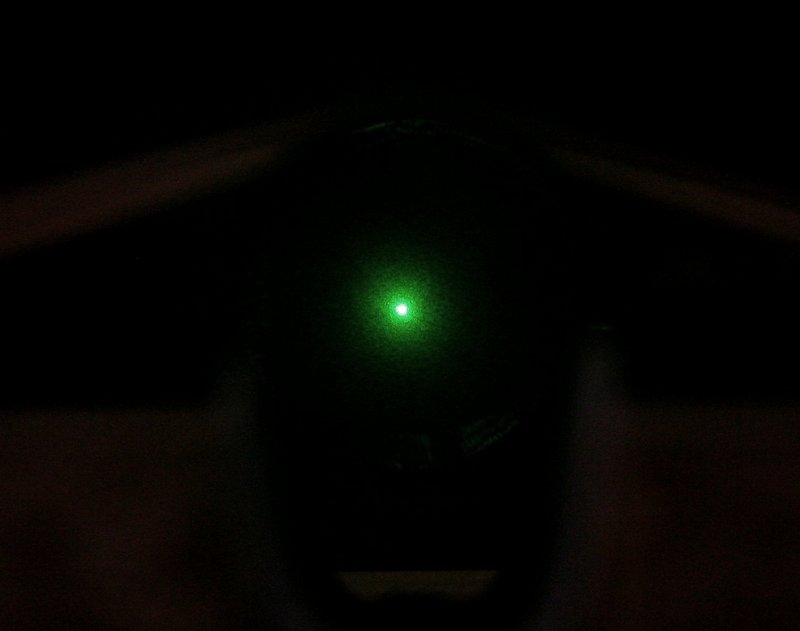
The image below shows the star.
(Image taken with Canon 350D at a distance of 60cm. The test with a telescope had the artificial star 5 metres from the telescope.)
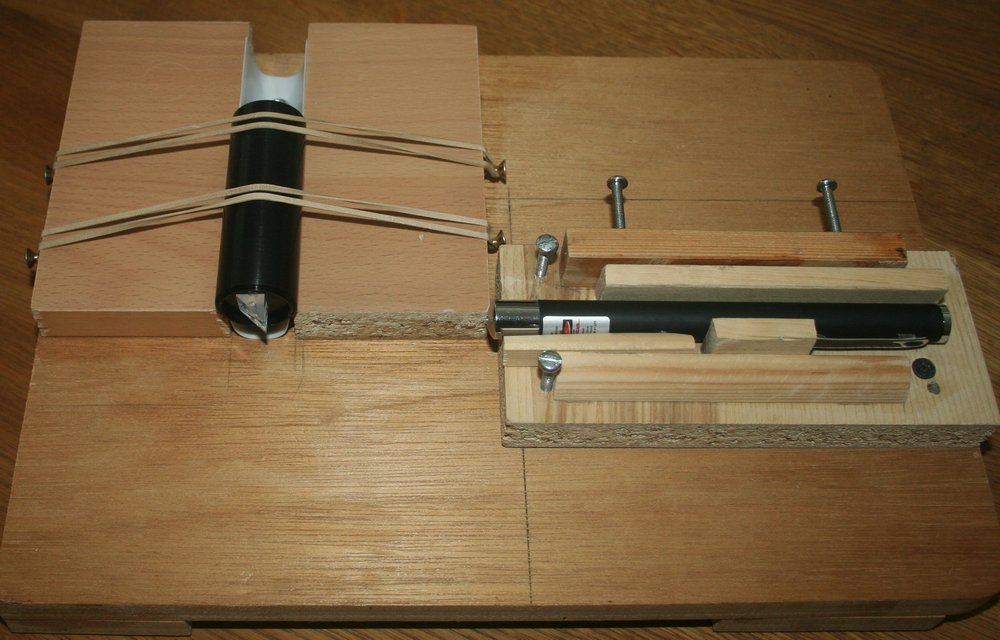
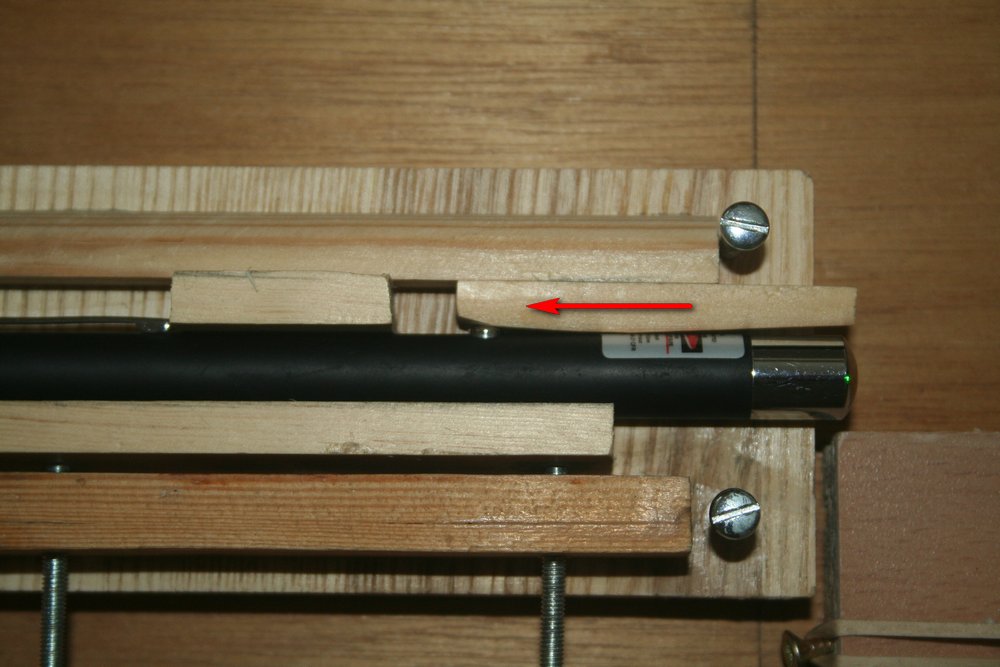
The whole apparatus is below.
The laser pointer can be adjusted in position by the screws shown.
The vertical screws adjust elevation, and the other screws allow the pointer to be moved laterally.
The beam strikes a small prism (also a relic from the Dall tester) and reflects through 90 degrees to hit the pin hole which is mounted in the black tube.
'High Tech' elastic bands hold the tube in position.
The tube can be rotate along its long axis so that the laser beam hits the prism face perpendicularly.
The tube can also be slid along its axis to ensure that the beam hits the pinhole.
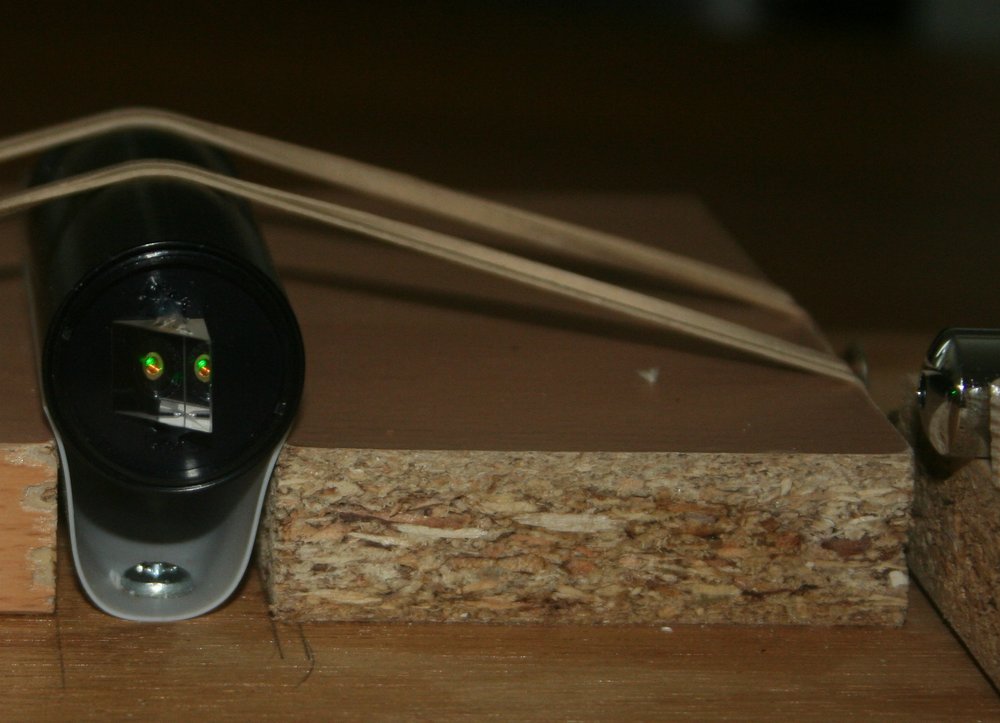
Closeup of the prism
A small sliver of wood is used to depress the laser ON button
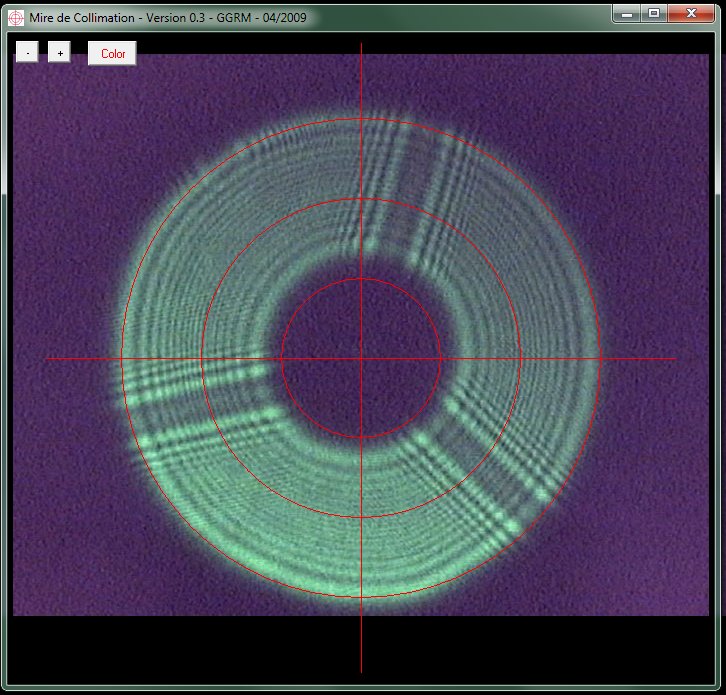
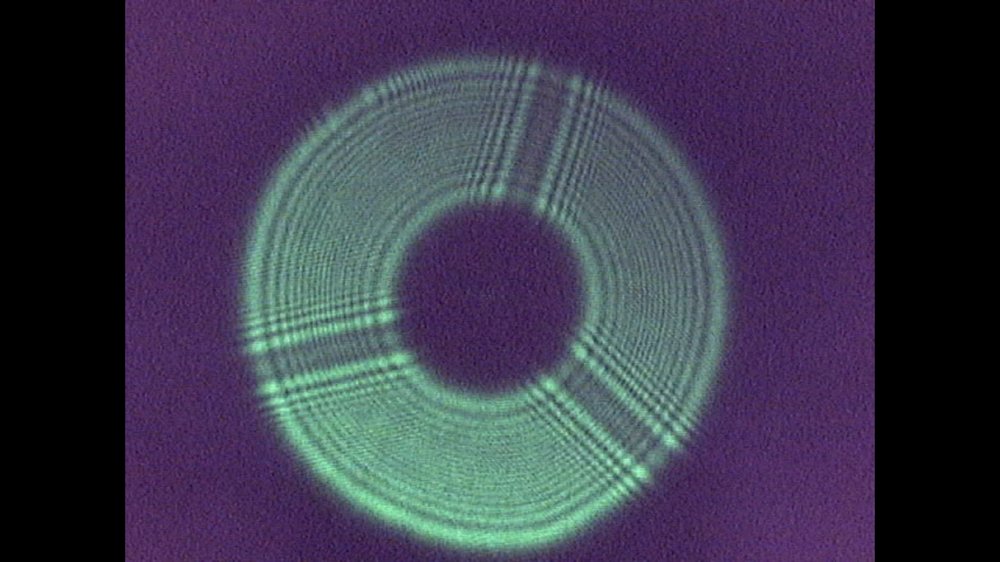
A diffraction image as seen by the telescope.
(This was taken with a Toucam webcam inserted in the telescope focuser.)
It can be seen that the scope is almost collimated, but the central black circle is a little displaced vertically.
| It is quite difficult to judge when the inner
black disc is perfectly centred. My solution was to find a program that would overlay circles on the webcam image. Here the diffraction pattern is off to one side. The mount controls are used to bring it central. |
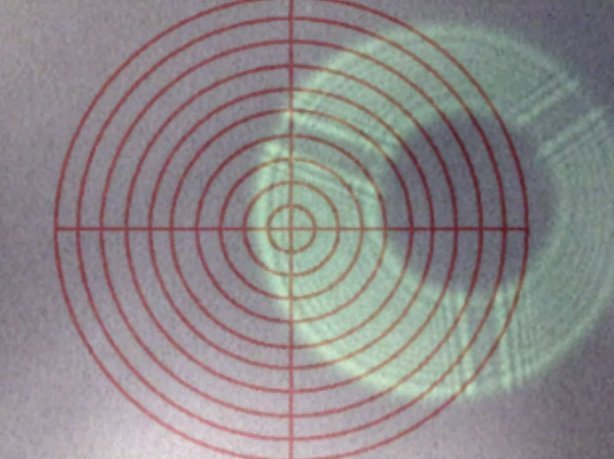 |
|
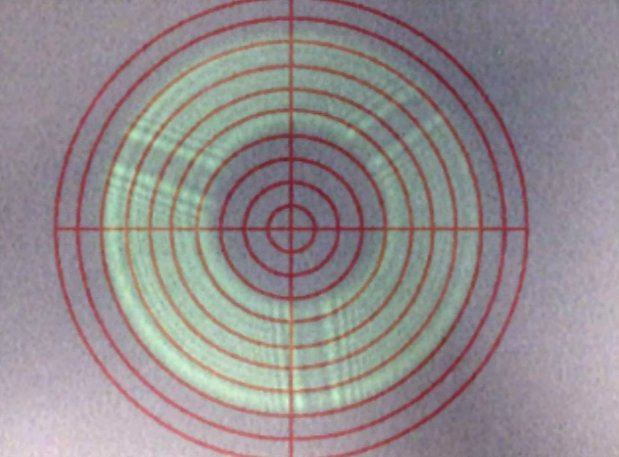
| The image is now aligned along the scope axis.
Collimation is quite good, but it can be seen that the central disc is a little
off-centre. When the collimation screws are adjusted the image moves off centre and must constantly be re-centred. Ideally this is a job for two persons! This video shows the system in action. |
 |
The software used to overlay the circles was not very good.
The size of the webcam image was small and the computer crashed whenever I tried to increase the screen size.
The transparency setting made the image rather indistinct.
I have now found a program called Mire de Collimation which allows the radii of the circles to be altered, and the transparency is 100%
It can be downloaded from this page (scroll down ).
The Mire de Collimation window can be resized and overlaid on any webcam display.
