QSI 683wsg-8 camera
30 November 2011The QSI camera arrived from Ian King Imaging
The packaging is very sturdy.


The equipment case is built like a tank.


The Lodestar guide camera is easily connected - it just screws on.
Front cover removed showing pick-off prism and empty filter wheel.
Loosening a recessed screw allows the Lodestar to be focused. The focus ring is threaded at 32 threads per inch so a full turn will move the guide camera by 0.8mm.
The other three screws loosen the C-adapter so the guide camera can be rotated.

The case opened.

Filters in place. One empty slot.

The software installed without any problems. I used a 300mm lens to test the camera.

| There was insufficient back-focus to focus on
distant objects, but a cereal packet at 15 metres did the job. This is through the 'Luminance' filter. |
 |
|
| The combined images through the Red, Green and
Blue filters to produce a colour
image. |
 |
|
| The narrowband filters, Ha, SII and OIII combined
using the Hubble
palette. |
 |
In some of the test images I noticed a few dust artifacts so I did a 'Pinhole test'.
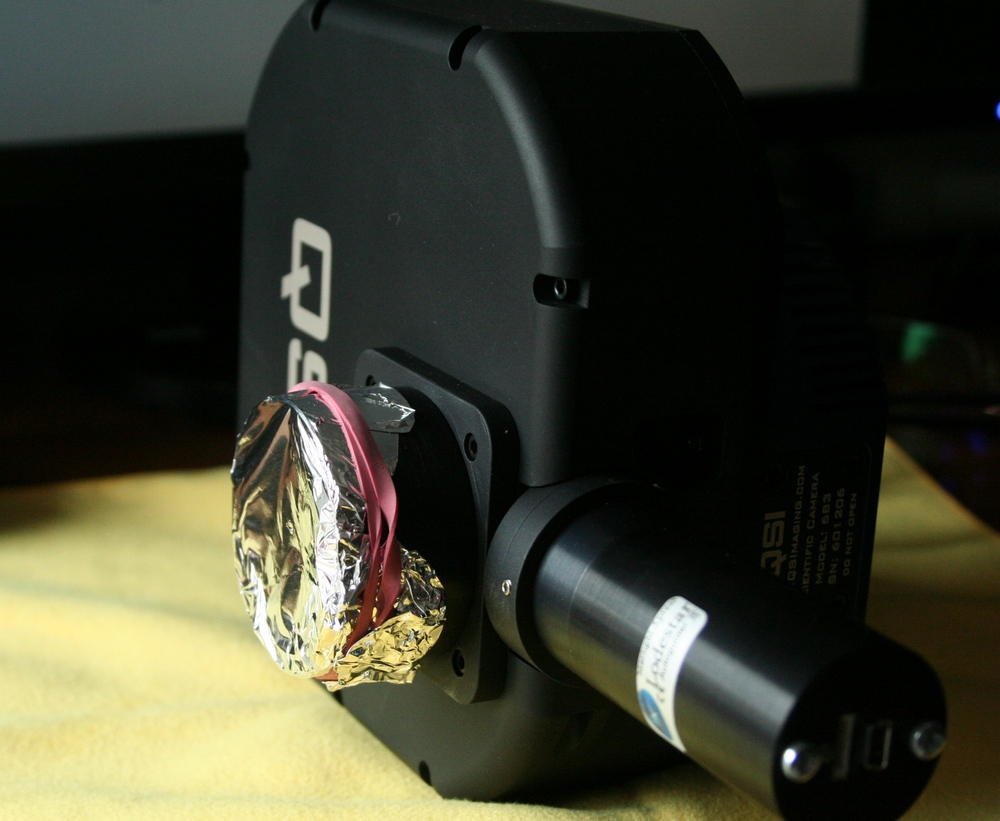
A piece of foil is placed as in the image below, and a small pinhole is made in the foil.
A sheet of white plastic is held in front of the camera to create a uniform source of light.
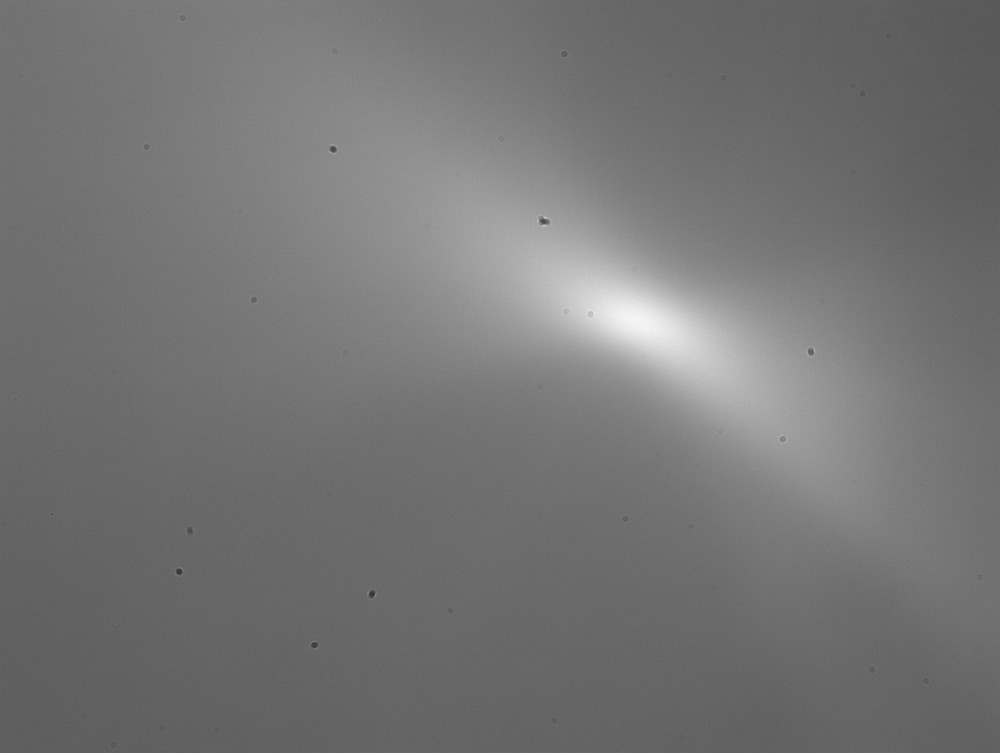
There were quite a few dust particles! From the appearance of the dust shadows it would seem that the particles
are quite close to the sensor, but not directly on it.
The most likely place is on the glass optical window over the sensor.
The filterwheel was carefully removed and the camera placed on its side so that dust would not fall onto the sensor.
The shutter was opened by rotating the shutter motor by hand and a bulb blower was used to give three puffs of
air aimed at the centre of the sensor. The shutter was closed and filterwheel replaced.
Result: a perfectly clean sensor!
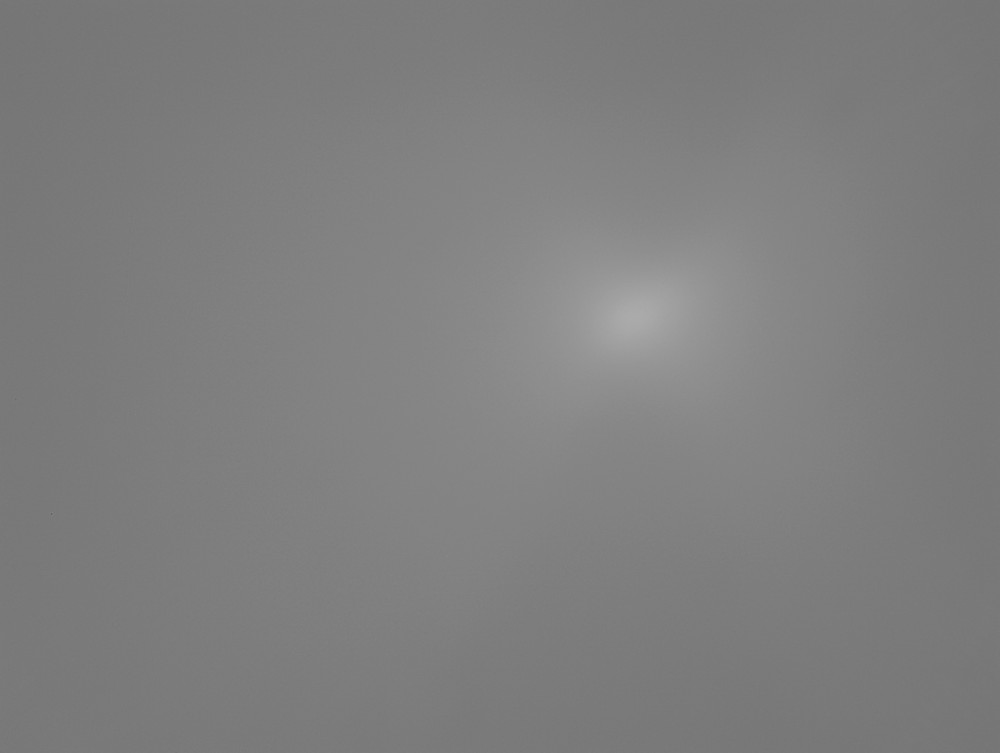
How sensitive is the pinhole test?
The pinhole test is a very good way to check for dust on the sensor optical window, or on the filters.
Dust on the sensor window will almost certainly show up on images, being so close to the sensor.
Even small particles will cast shadows on the pixels.
It is therefore advisable to try and get the sensor free of dust, as in the image above.
Dust on the filters is rather different. The pinhole test can produce a horrendous image, and yet a flat image
taken through a telescope can show nothing at all.
As an example, here is a pinhole image taken through the Green filter.
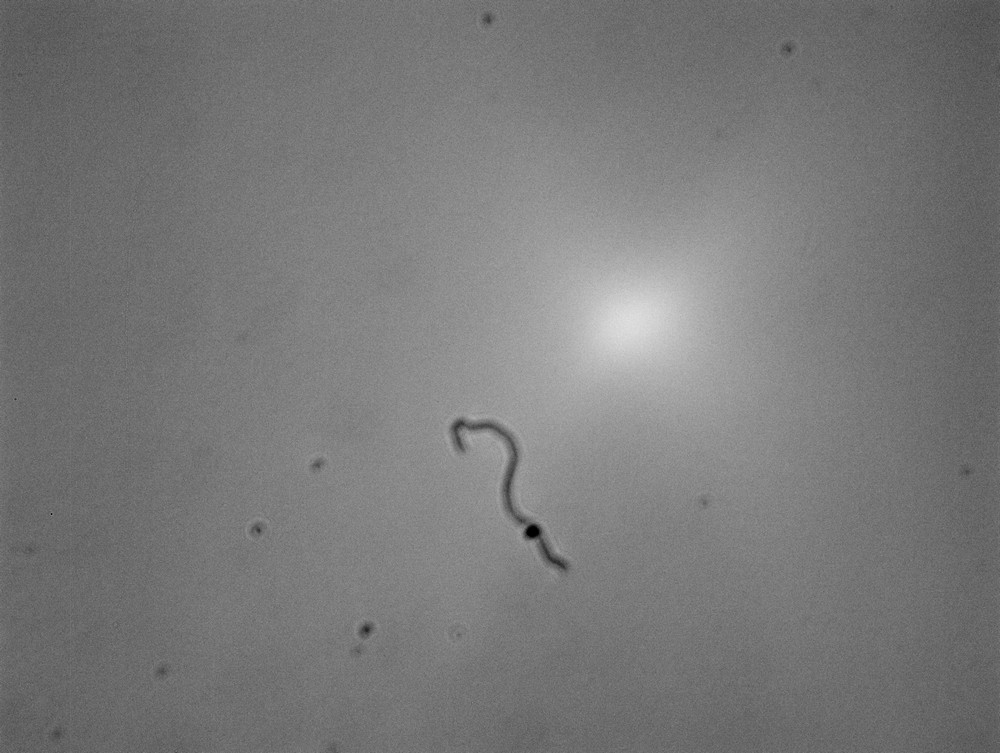
There are at least 12 obvious dust particles and a horrible fibre. I would not be happy taking images
with that much contamination on the filter.
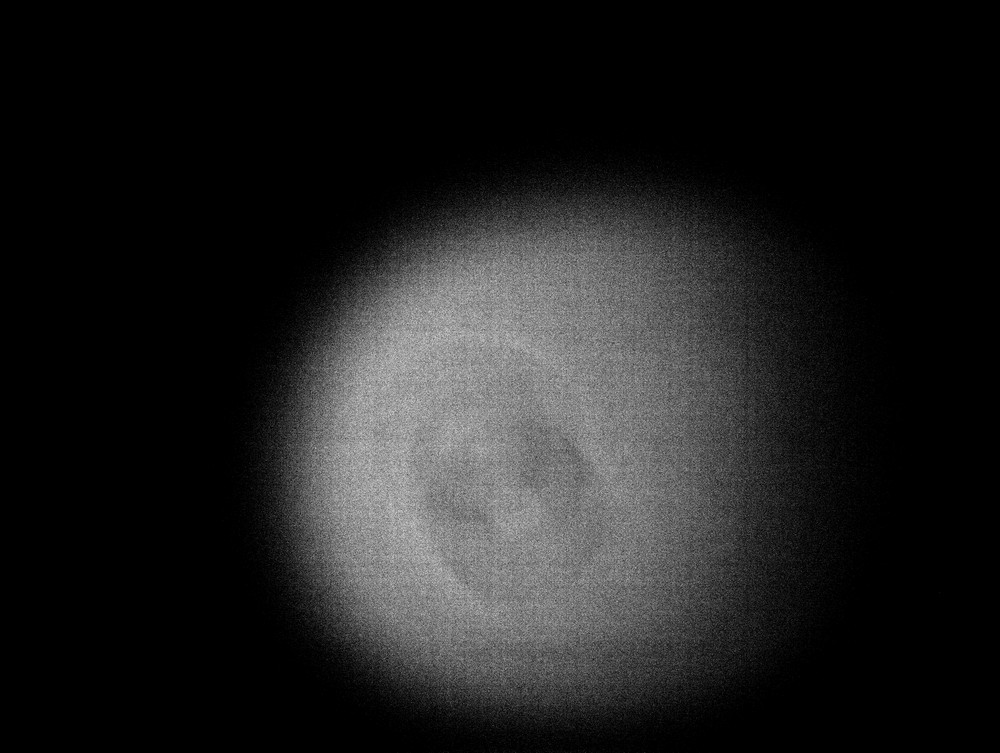
This is a proper flat image taken through a telescope with the same filter.

You have to look very hard at the image to see any effects produced by the fibre. None of the
dust particles show up at all!
A vicious screen stretch does show artifacts produced by the dust, but it is unlikely that this would ever
be visible on actual images.
The moral of the story is:
Use the pinhole test to check for dust, but do not get paranoid about dust on the filters. Particles
on the filters have to be quite large before they will degrade the image.