| Starlight Xpress Camera |
| 28 May 2010 | Taking pictures with the Canon 350D has been an educational
experience, but I think I have now pushed that technology to its limit. With
the ASA DDM60 mount I can now take 5 minute unguided exposures, and with
that length of time the background dark noise rises to unacceptable levels.
Even with dark frame subtraction I am left with a blotchy
background. |
|||||
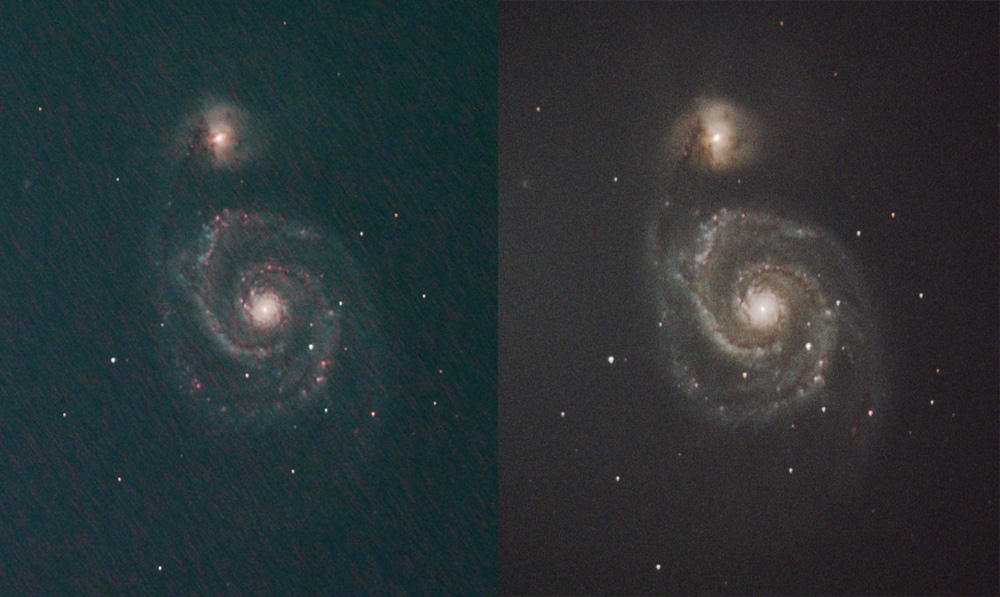
| The left image
is a crop of a single frame of M51, the Whirlpool Galaxy, taken with the
Canon. Exposure 4 minutes. The right image is the result of stacking 18x4 minute frames. Red and green blotches make it impossible to enhance the image to show the galaxy well. (Scope - 6" reflector) |
 |
 |
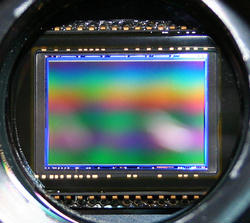
| I have now bought a second
hand Starlight Xpress CCD camera, the SXVF-M25C This is a 6 megapixel camera with 7.8 micron square pixels, covering an area of 23.4 x 15.6 mm. The M25C is a 'one shot colour' camera (OSC), and is therefore simpler to use than a mono camera as it does not require RGB filters. There is a trade off in sensitivity with an OSC but I am hopeful that it will still prove to be better than the 350D. |
||
 |
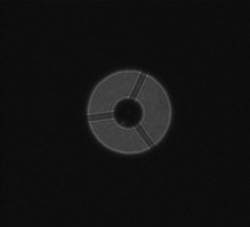
| When I hooked the
camera up to the scope I found that I could not get to the focus position
because the distance from the CCD sensor to the front of the camera is much
less than with the 350D. The primary mirror will need to be shifted about 20mm
down the telescope tube. |
 |
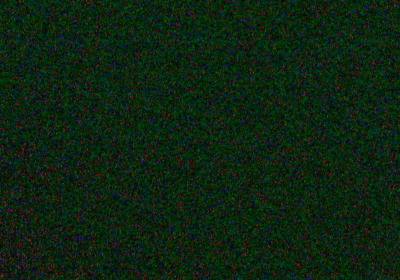
| Unable to take any images of
the sky I investigated the dark noise of the camera by taking some 5 minute
exposures with the cap over the end of the scope. Below are the results,
comparing the Starlight to the Canon. Both images have had identical level
adjustments in Photoshop. |
| SXV | Canon | |
 |
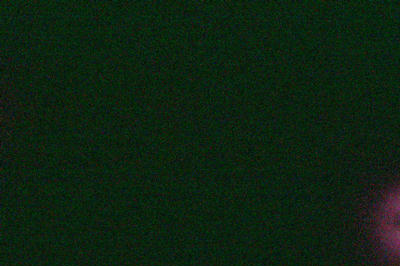 |
These are crops of the top left corner of each image, displayed at 100% size. The SXV is remarkably smooth with only a few defects due to 'hot' pixels. |
||
| SXV | Canon | |
 |
 |
|
One reason why the SXV has very low dark noise is that it has a cooling system which keeps the sensor chip at 30°C below ambient temperature. During Summer months the Canon chip will be very warm which contributes to the noise. |
||
| A clear spell last
night (May 30) enabled me to take the first images with the SXV. I chose
M51 so that I could have a direct comparison with an image made on the
22nd May. The image below shows 18x4 minutes with the Canon 350D, darks and
flats with CLS filter. To the right is 8x4 minutes with the SXV, no darks,
no flats, no CLS filter. The background is darker, and free of red and green colour blotches. |
||
 |
||
| The next imaging session will
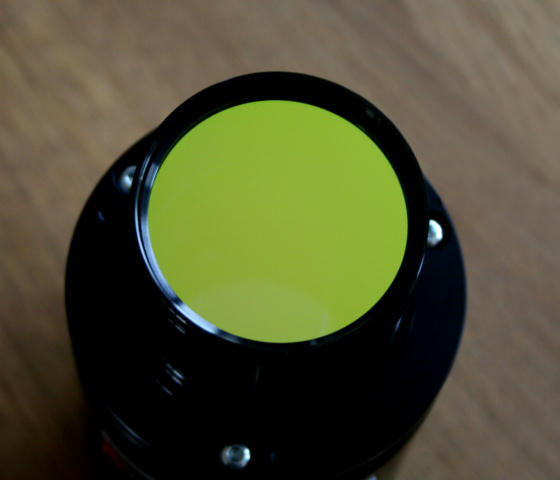
include the CLS filter. The filter removes a large amount of light pollution due to orange Sodium street lamps. The filter screws onto the front of the camera. A secondary benefit is that it prevents dust getting onto the optical window. |
 |
|
| The image below
was made on the 1st June, using the light pollution filter. 24 frames, 4 minutes each. Compare this with the image made with the Canon 350D in 2009 - click here |
||
 |
||
| |
| I have now got the 10" reflector on
the DDM60 mount. Below is a comparison between Canon 350D with
Astronomik filter (left) and SXV with IDAS filter
(right) Canon image 21x3 minutes, SXV 27x3 minutes. The SXV image has a much smoother background. |
|
 |
Filter comparisons In light polluted areas it is useful to use a filter with the camera. The following are pictures comparing the Astronomik CLS filter and the Hutech IDAS filter. |
||
| Daylight image taken with a
Canon 350D. The Canon has an IR filter built in. |
 |
|
| Image taken with the SXV-M25C
- no filters. No IR filter causes a weird colour balance. |
 |
|
| Image taken with the SXV-M25C
- Astronomik CLS filter in place. Very little green is left. |
 |
|
| Image taken with the SXV-M25C
- Hutech IDAS filter in place. The white car is properly white. Green is showing - note the yew hedges in the distance. |
 |
|
| Overcast and dull day.
Canon 350D, no filters. |
||
| Astronomik filter held in
front of camera by hand. |
||
| Hutech IDAS
filter. |
||
| This chart shows the
transmission curves for the Astronomik and Hutech filters. Most emission lines for the Mercury spectrum fall in the regions where the Hutech transmits virtually no light. The double Sodium orange line is removed by both filters. |
 |
|
| To use the Baader coma
corrector with the camera some extension tubes are needed. The rear of the coma corrector needs to be exactly 55mm from the CCD sensor. The sensor is set back 18mm from the front of the camera. To get the required 37mm I used a Baader Varilock extension which can be adjusted between 20 and 29mm, and a 15mm extension. |
 |
|
| Off-axis
guider In the eternal quest for long, perfectly guided exposures I have bought an off-axis guider and a Starlight Xpress Lodestar camera. The only problem is that the Baader coma corrector needs to be 55±1 mm from the imaging CCD. With the 20mm spacer the distance is more like 59mm, so I need to shave off 3 or 4mm. |
||
| Starlight Xpress say that the
distance from the CCD to the front of the camera is around
18mm. Before I attempted getting the parts machined I wanted to verify this distance. This is difficult to measure because there is a glass window over the chip. I borrowed a travelling microscope from the school where I used to teach. |
||
| A hair stretched across the camera aperture. | ||
| The view when the microscope
is focused on the hair. |
 |
|
| Microscope focused on the
CCD. The microscope has an extremely short depth of focus, and repeat readings did not vary by more than ±0.1mm Result: The distance is 17.6mm |
 |
|
| The T-adapter to which the coma corrector attaches has a flange which is about 2mm thick. This does not need to be there. |  |
|
| The 20mm spacer can be reduced
in width by a small amount. If too much is taken off then it will be difficult
to get both the guide camera and imaging camera in focus at the same
time. Terry Platt at Starlight Xpress did the necessary machining and removed 1.92mm from the T-adapter and 1.98mm from the spacer. All parts went together perfectly and now the distance from coma corrector to ccd is 54.71mm. This should be perfect for pinpoint stars across the whole frame. |
 |
|
The image below shows small round stars over the whole frame, so it looks like the coma corrector is doing its job well. |
||
 |
||