Zambuto Mirror - Part 1
18th August 2013
An 8 inch Zambuto mirror came up for sale on Astro Buy & Sell.I have always wondered what performance a really good mirror would produce so I bought it.
The mirror had just been re-aluminised by Galvoptics, and looked perfect.
Holding it up to the Sun and viewing from behind, only two or three small pinholes
could be seen, so the coating looks good.
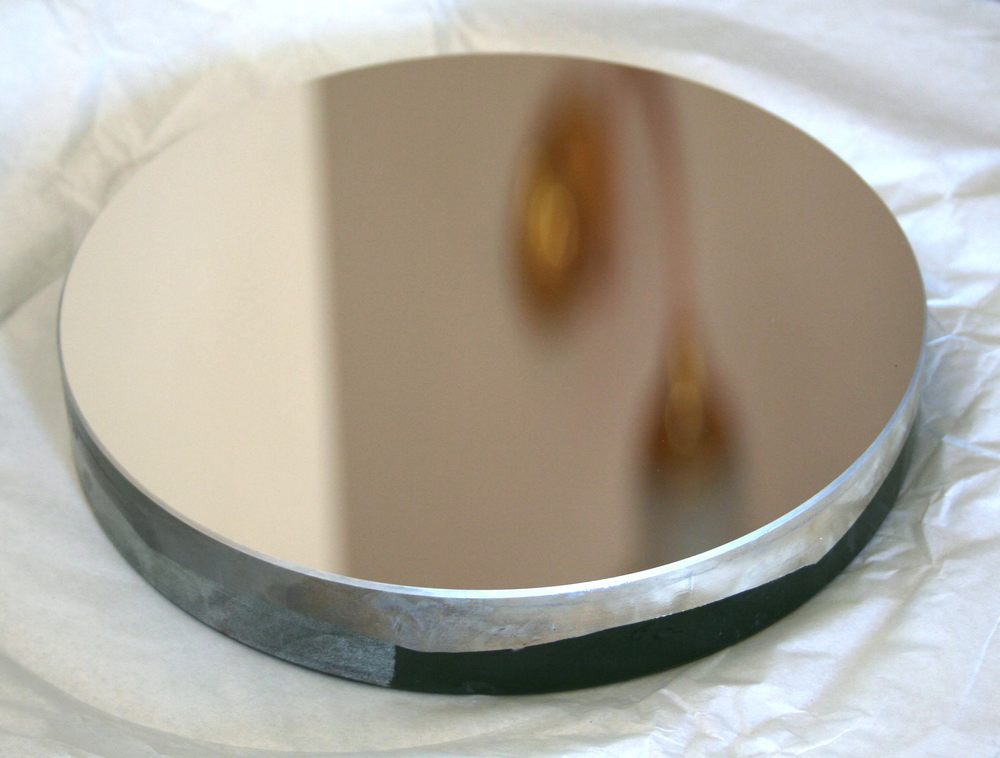
Details of the mirror are:
Focal length 47.7", ratio f5.96
Peak to valley wavefront 1/25.6 wave
Wavefront rms 1/63 wave
Strehl ratio 0.990
Relative transverse abberation 0.49
These are superb values, and should produce magical 'diffraction limited' images.
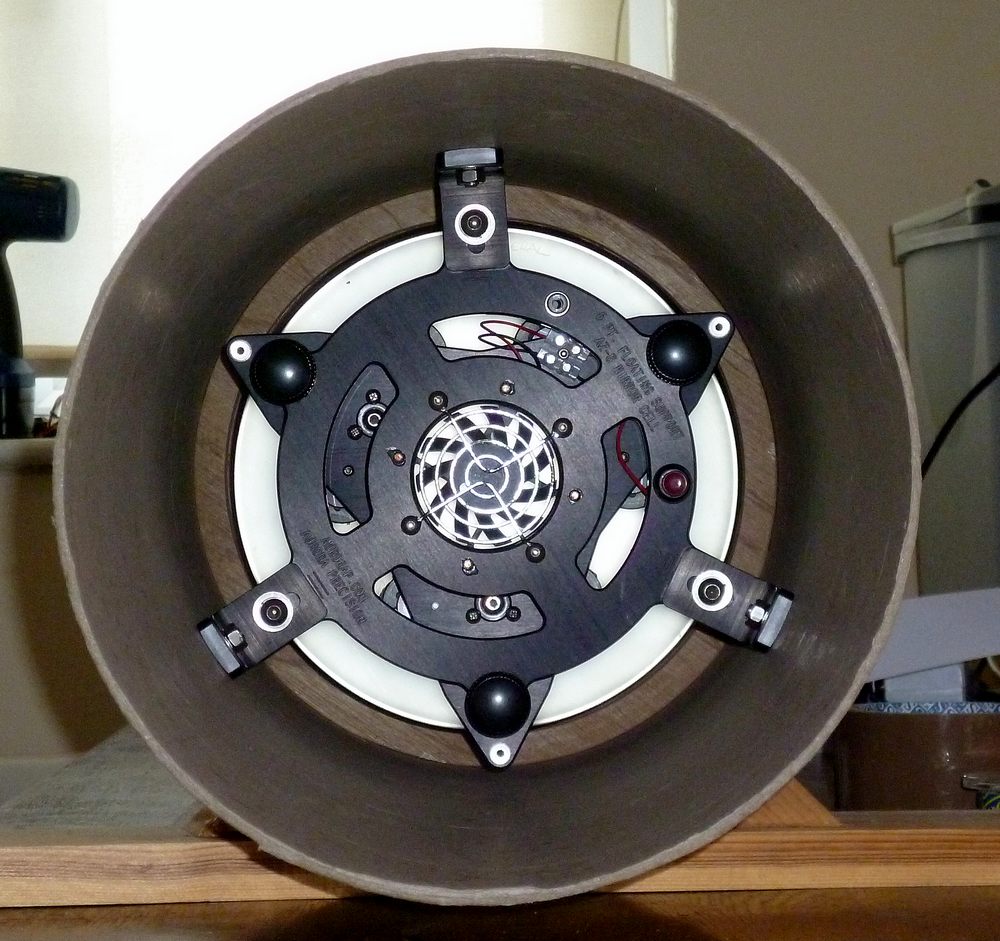
Mirror Cell
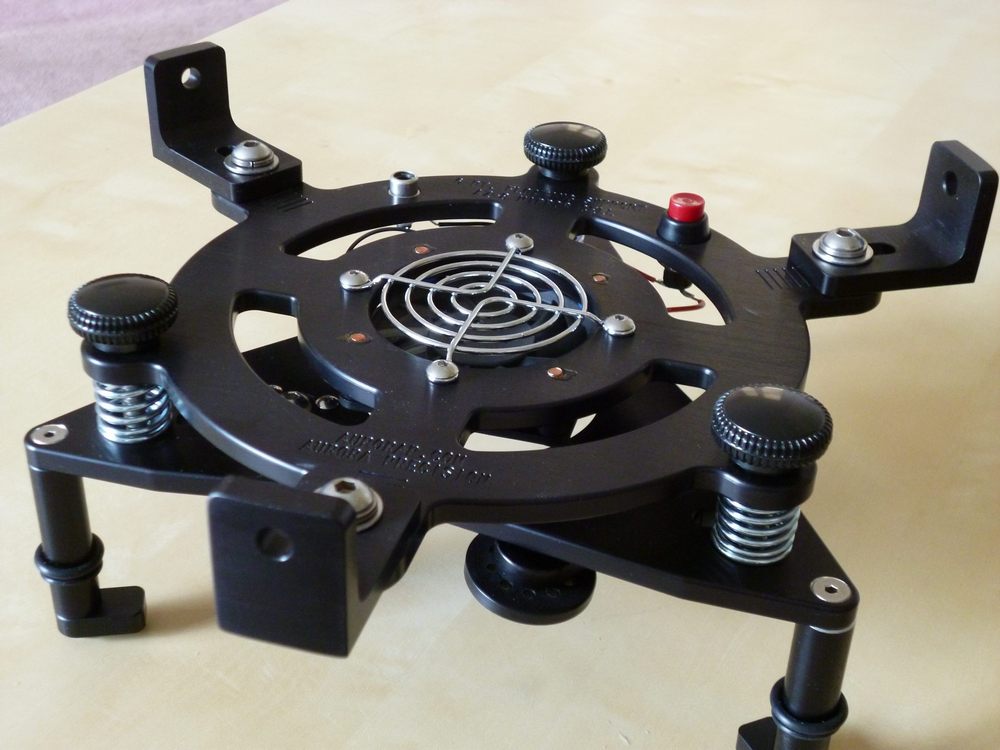
A mirror of this quality needs a superior mirror cell.
I bought one from Aurora Precision.
It is a very well engineered device.
Rear side:
Mirror side:
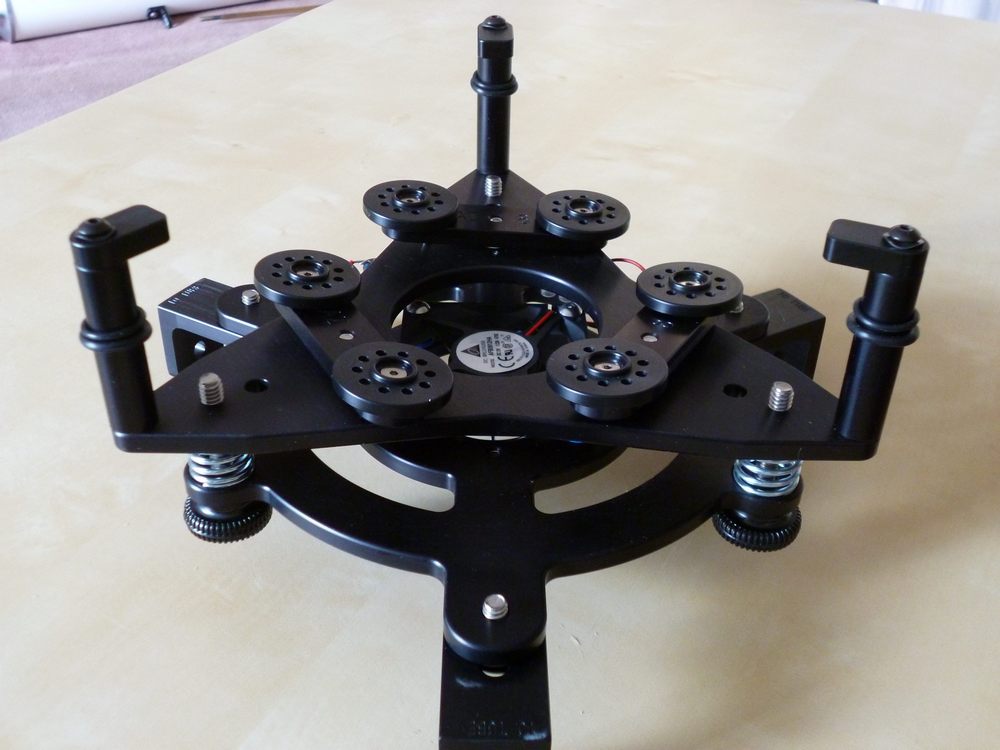
Floating 6 point suspension, built in fan, very smooth and easy collimation screws.
Secondary mirror
There is little point in using a 1/25 wave primary with a 1/10 wave secondary,
so I hunted around for a high quality secondary mirror.
I eventually settled on a mirror from Antares Optics.
It is a 1/30 wave mirror. Peak to Valley 0.034 wave. RMS 0.006 wave

The secondary is a good 15mm thick, and the surface is flawless.
Secondary support
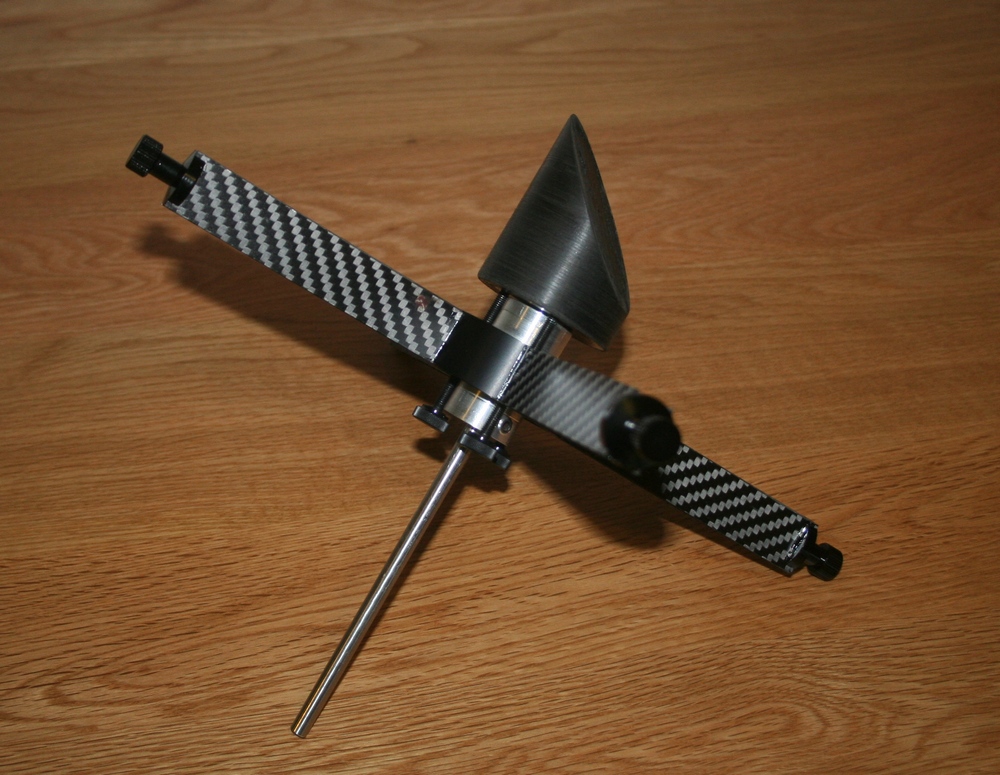
I chose a spider from Teleskop Express.
This has carbon fibre vanes which are a mere 0.4mm thick.
The vanes are double for added rigidity.
The actual mirror holder was a separate item,
so I designed a holder which was made by Chris Livingstone.
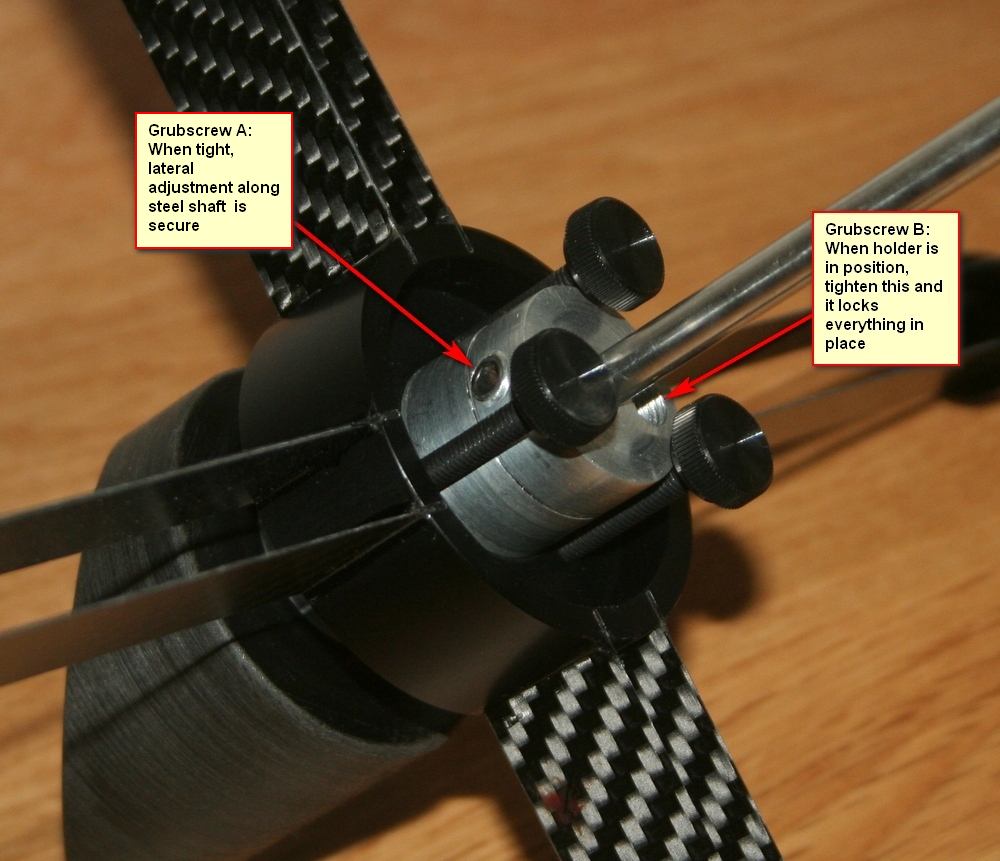
Two aluminium collars fit either side of the spider's central disc, on a 6mm stainless steel shaft.
A grub screw on each, when tightened, fixes the lateral position of the steel shaft,
but still allows the shaft to rotate. A second grub screw on the outer collar can then be tightened and the whole assembly is held rigidly.
I have obtained a 10" diameter cardboard tube to act as the prototype. When I have worked out what length
the tube needs to be I will order a carbon fibre tube.
2nd November 2014
I want to set up the telescope in a cardboard tube so that I can make sure I get the spacing between components correct.
I bought a cardboard tube of the right diameter, but although the ends were round, it was somewhat elliptical near the centre.
I cut out some thick plywood rings which will hold everything circular.

10th March 2014
Spider fitted in cardboard tube

17th March
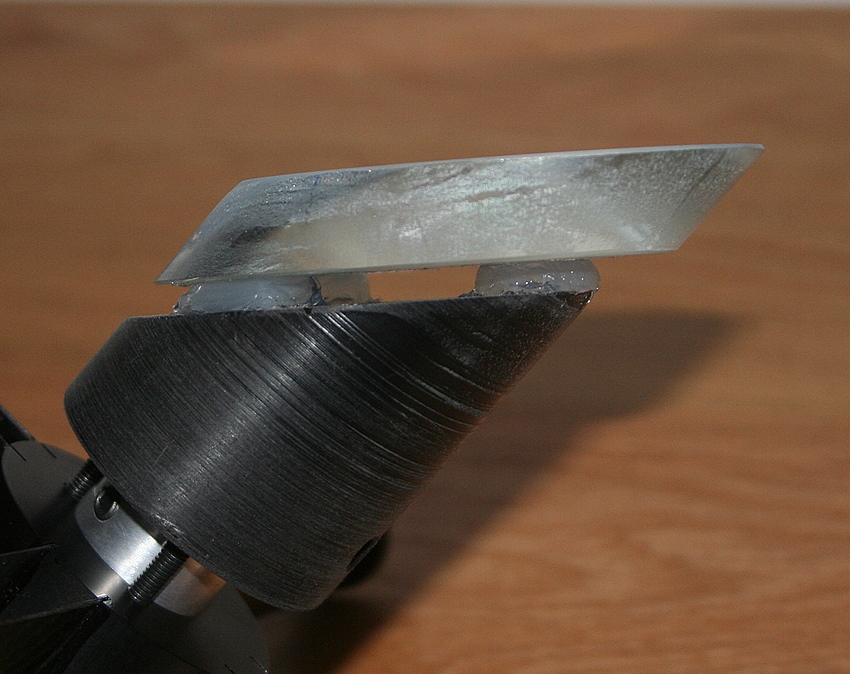
Secondary attached to spider support with silicone adhesive.
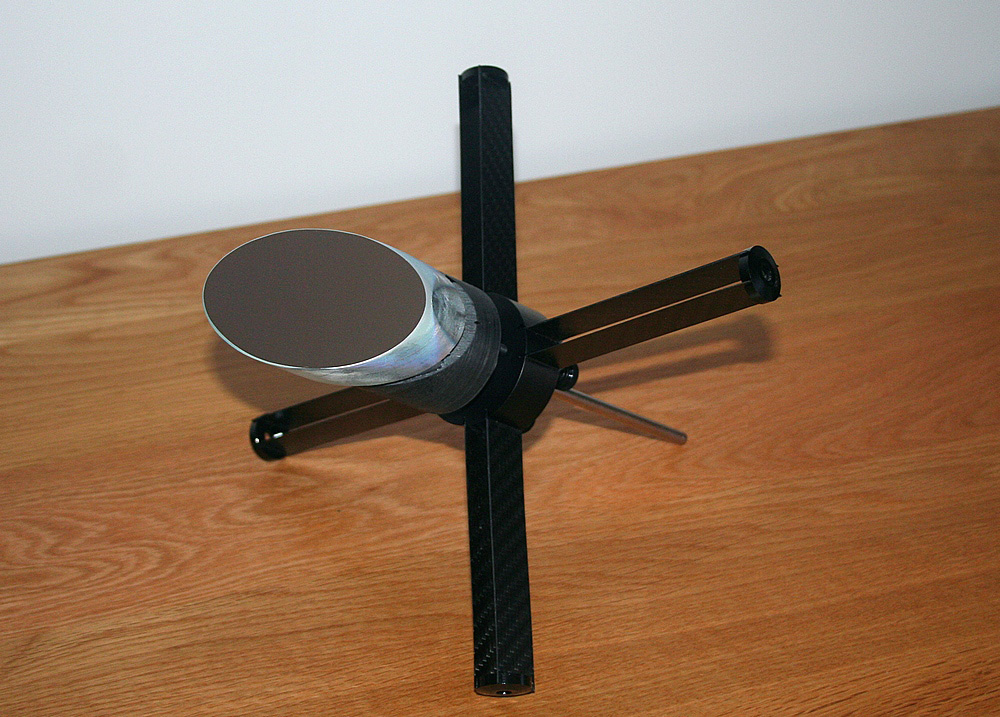
This shows the three blobs of silicone adhesive.
Three balsa wood spacers were used to get the gap between mirror and support of uniform thickness.
The spacers were cut away after the silicone hardened.
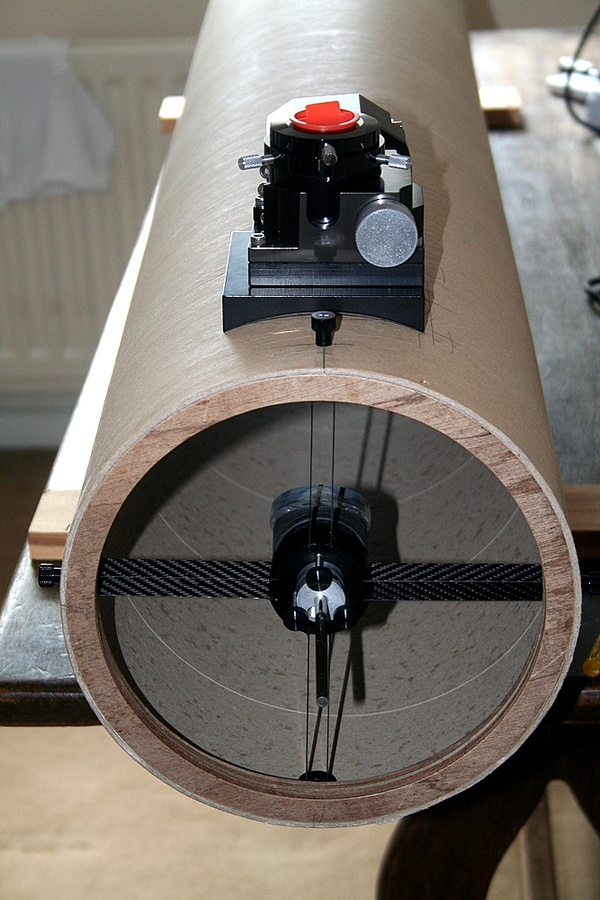
Moonlite focuser, spider and secondary mirror in place.
Preliminary calculations seem to have worked. A laser collimator
shines a beam down the true centre of the cardboard tube.
The mirror has been glued to the 6 point suspension with silicone adhesive.
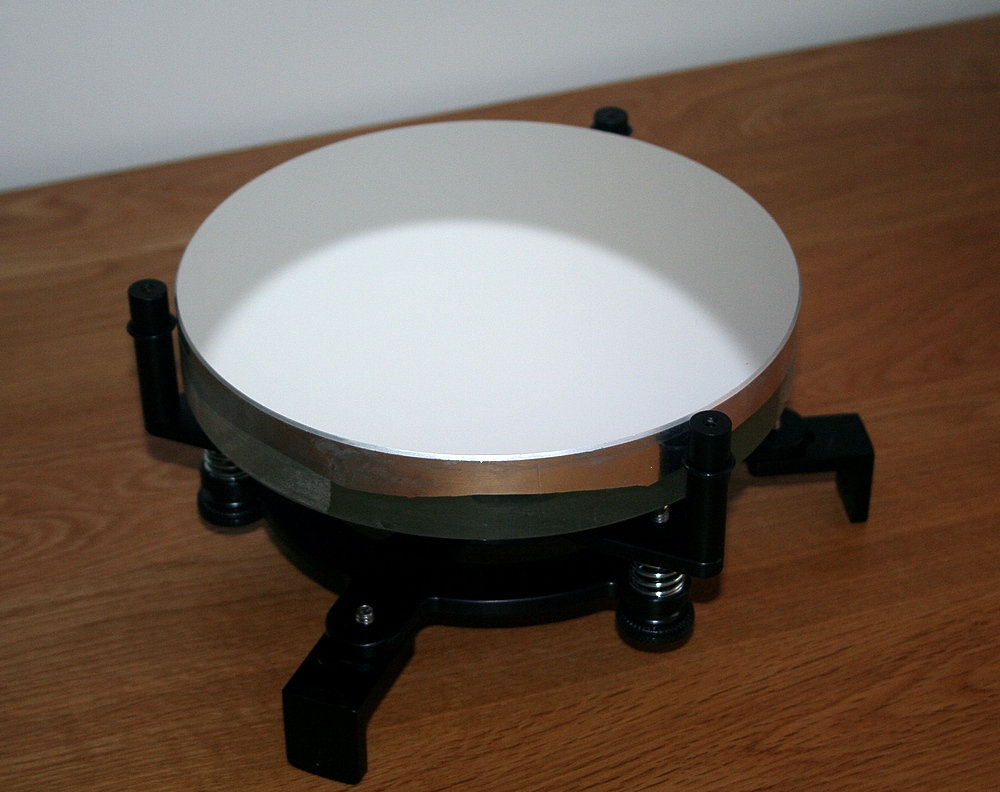
20th March
Locating the centre of the mirror

Centre ring in place
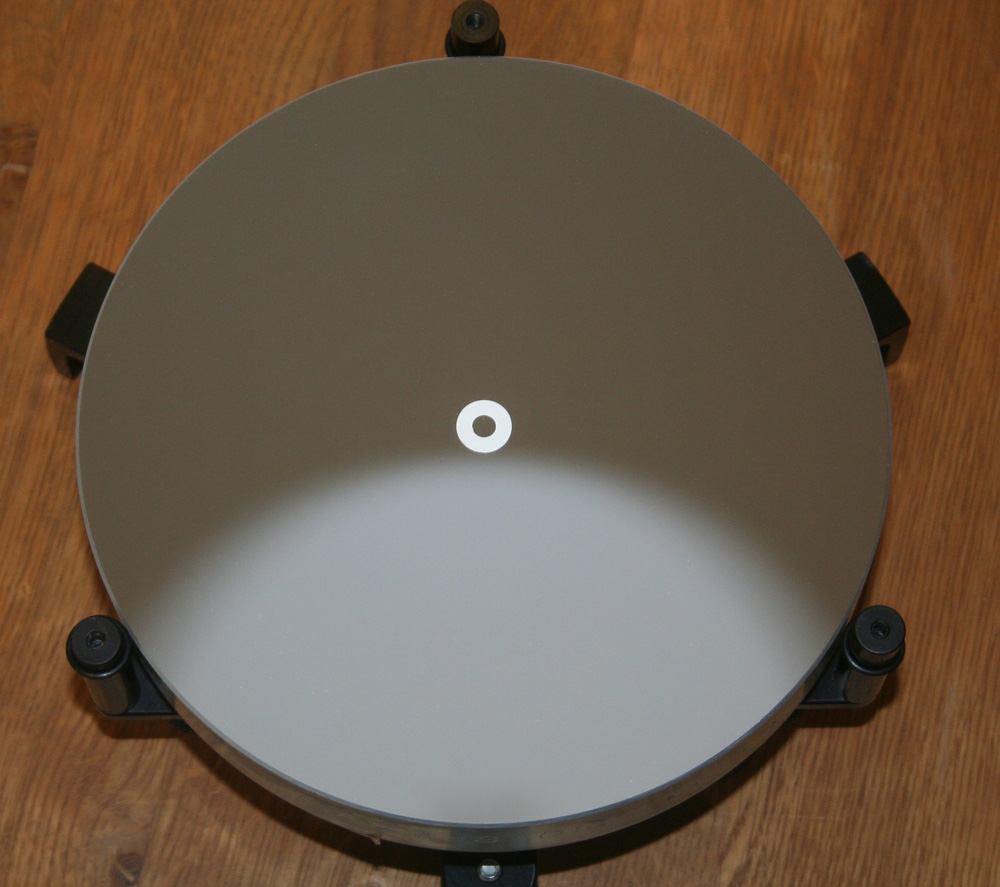
How close to the centre did I get the ring?
This photo was taken with the camera as close to the mirror axis as I could get.
The centre of the ring was found and concentric circles drawn.
It looks like the centre spot is within a millimetre or two of the mirror centre.
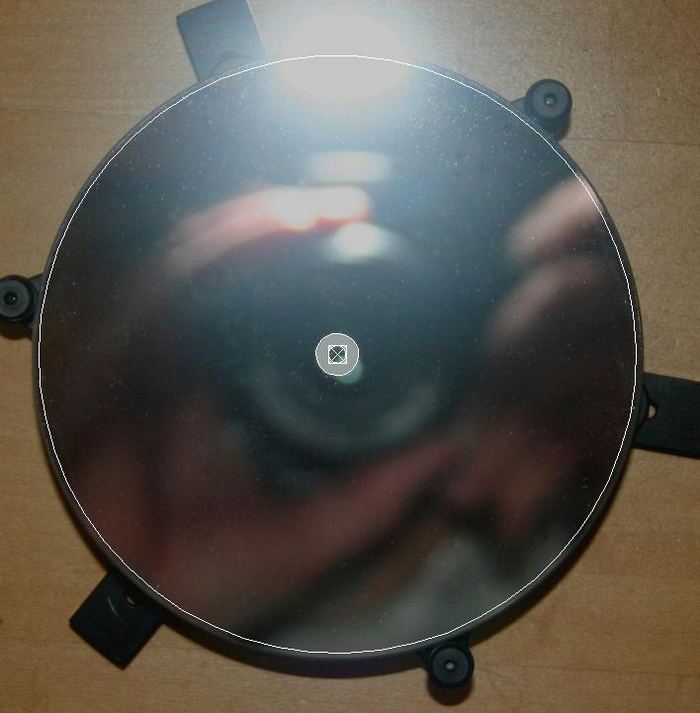
21st March
Mirror and cell in the tube. The placing of the spider relative to the focuser looks close to perfect, and the secondary
adjustments allowed the laser collimator spot to be directed at the primary mirror centre with ease.
The main mirror adjustment knobs worked very smoothly and good collimation was achieved in a few minutes.
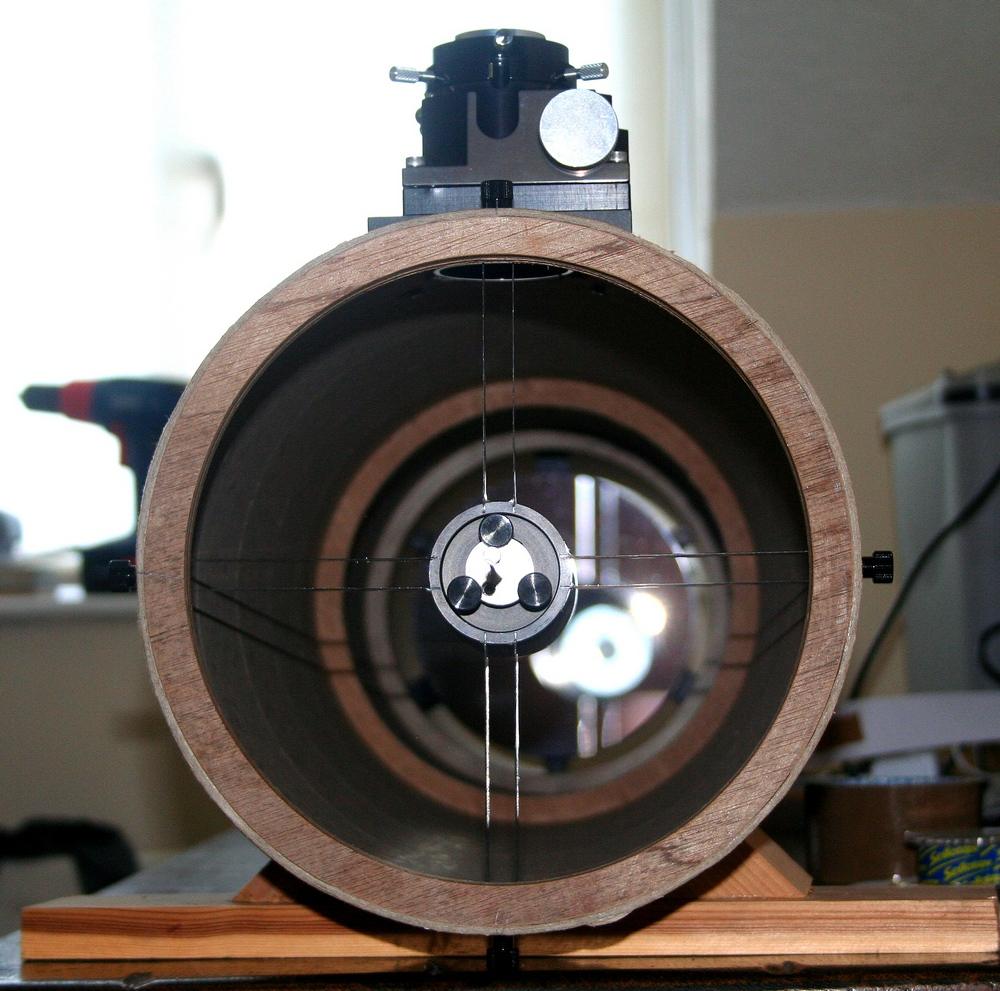
The rear view:
Test image out of the upstairs window.
Focus just out of reach!
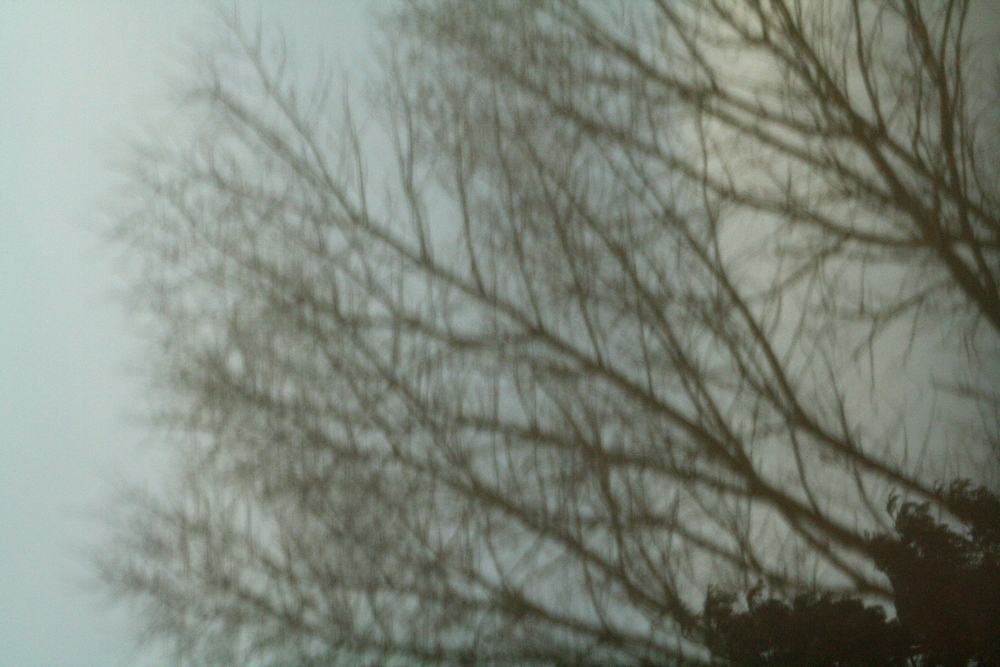
The reason for not being able to reach focus is that the Moonlite focuser stepper motor was hard up against the cardboard tube.
Placing a Moonlite spacer under the focuser clears the tube, but pushes the camera just out of range.

22nd March
Replacing the spacer with a temporary plywood one of 5mm thickness does the trick.
This image is through double glazing and half of the telescope aperture was obstructed.

A serious test will need the 'cardboard telescope' to be taken outside and placed on a mount.
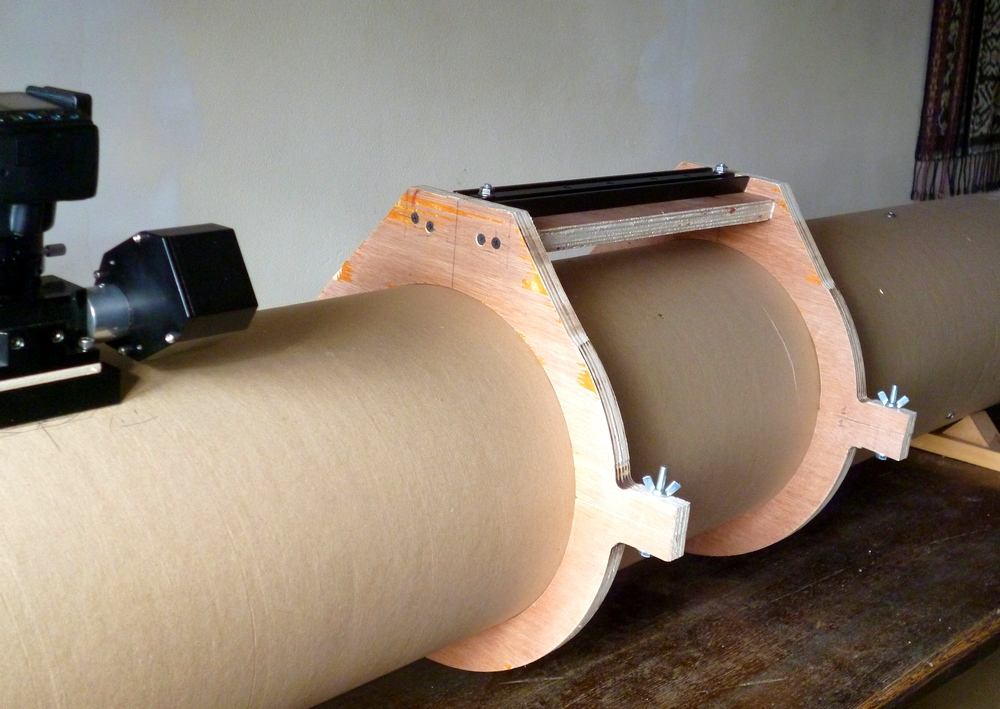
I have made some crude plywood tube rings bolted onto a Skywatcher dovetail bar.
This will allow the scope to be supported on an old EQ6 mount.
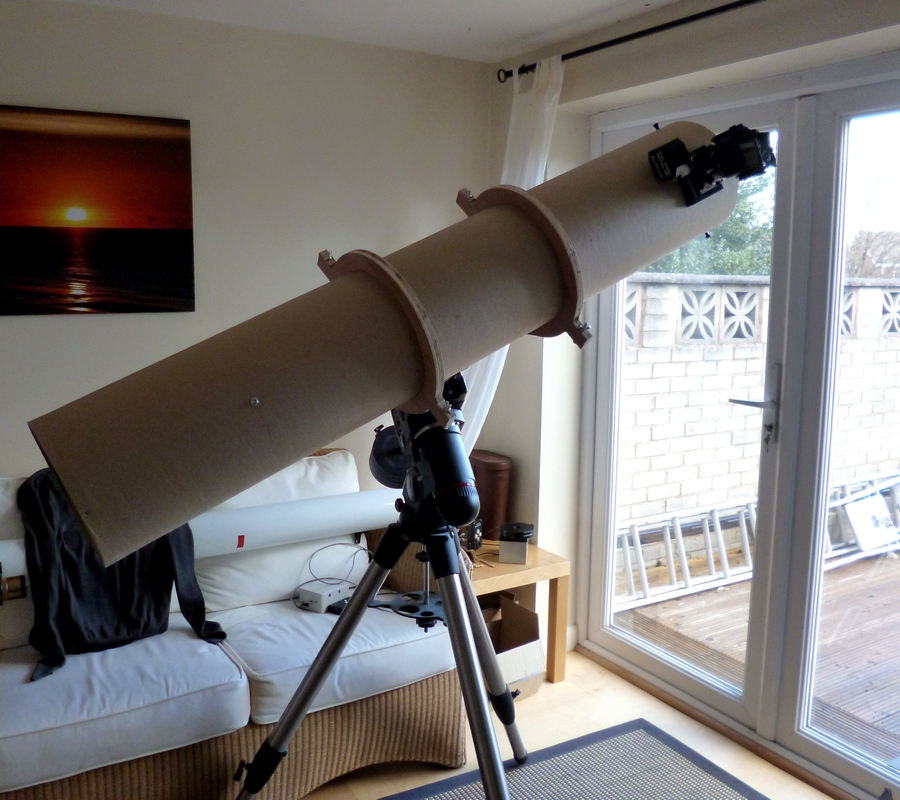
23rd March
Scope on mount. There is a lot of spare cardboard at the rear of the scope - the tube could be cut just behind the silver bolt
A test image of a chimney about 150 yards away.

Page 2 Click here